How to Switch To Linux – Step by Step Walkthrough
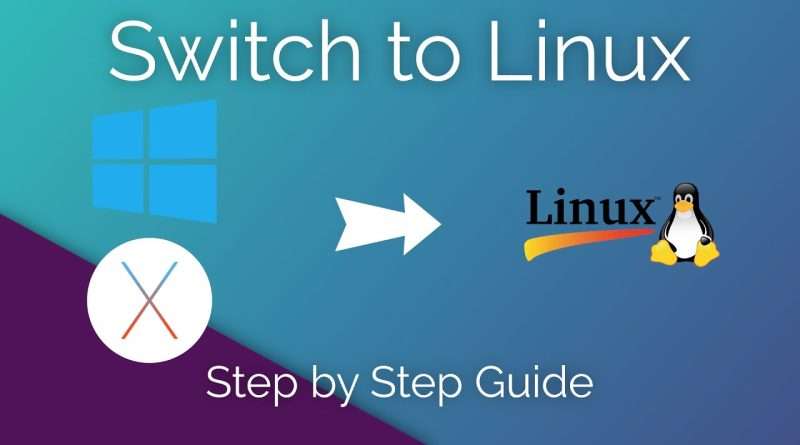
Switching to Linux can be a scary proposition. The steps you need to take, the various obstacles, the risk of wiping your disk, everything leads to questions and doubts. The choice can also be overwhelming. This video series aims to help people willing to switch, take their first steps. We’ll start by listing the steps you need to watch to ensure the transition goes well, and move on to how to choose a distro, actually installing it, and how to get help if something goes wrong.
Set up your own Linux server with LINODE: http://www.linode.com/linuxexperiment
Support the channel on Patreon: https://www.patreon.com/thelinuxexperiment
Follow me on Twitter : http://twitter.com/thelinuxEXP
Moving to Linux doesn’t imply any technical or coding knowledge, nowadays, but you still need to take some precautions first. You’re going to be messing with your SSD or your hard drive disk, so some amount of care is required. The obvious first step is to backup your data.
Check your components online
Check what your computer has inside before trying out Linux. Most motherboards, processors, hard drives and SSDs will work out of the box, no questions asked. Graphics cards aren’t an issue anymore: for AMD users, the open source drivers are perfect. For Intel users, everything is already supported as well. For Nivida users, you’ll just need to install the proprietary driver to make sure you get the full potential of your card. What you need to look for is your wifi and bluetooth modules. Check the model numbers, and look them up online with the keyword “Linux”, to see if people report errors, or have solutions to make them work.
Choose a distribution
For those of you who are not familiar with Linux at all, a distro, or distribution, is basically a “version” of a Linux based OS. What we call Linux is not a single unified operating system as Windows or Mac Os. it’s an ensemble of the Linux kernel, the GNU tools, a display server to allow to have a graphical interface, and a desktop environment and applications. For Beginners, Ubuntu or Fedora will work for stability, and Manjaro will do the job if you want bleeding edge. You can then pick the desktop environment you want to use: GNOME for simplicity, KDE for super high customization, Cinnamon for an intermediate mix, and XFCE if you want something lightweight.
Create a live USB
Generally, what you need to do is download the distribution you chose, and put it on a USB key with a dedicated tool. Most distros are provided as an ISO image file, what was used to burn optical disks.To put that image on a USB key, all you need is Etcher, a very simple tool that will let you select the ISO itself, the USB key, and click “go”.
Boot from the USB key
This means starting up your computer using the USB key as its hard drive, instead of using your computer’s own SSD or Hard drive disk. It’s generally an easy process, but you might need to get into the BIOS or EFI interface to tell your computer to try booting from a USB key instead of the disk it uses.What you’re looking for is “boot options”, or “boot sequence”. You just need to tell your computer to use the USB key instead of the hard drive, generally by changing the boot order and putting your USB device above your hard drive.Once that’s done, you’ll have to save these settings, often it’s a press of the F10 key. Your computer will reboot, and if the USB key is plugged in, it should start up using it as its hard drive.
Try out the distribution
Just test everything you can think of: is the resolution OK, is wifi and bluetooth working, are all your peripherals recognized and working: webcam, microphone, trackpad, mouse, keyboard, audio jack, printer, the various ports… Take some time to really put the distro through its paces, and try everything. You’re running a live session, which means anything you do on here won’t be saved when you next reboot, so go crazy!
Install the distribution
Most Linux distros have a graphical, easy to understand installer. The most common cases are: wiping out the whole disk and replacing everything with Linux, or dual booting, Most installers will provide an option to dual boot, if you prefer to keep a Windows or Mac OS X partition, and will let you decide how much space to give to your Linux partition. The installer will ask you to enter a username, and a password. Remember that one carefully, cause it’s the one used to log you in, and to do anything that requires admin rights, like changing some settings, or installing programs.
Reboot
At reboot, depending on your distribution of choice, and if you elected to dual boot or not, you might see some kind of ugly screen listing the operating systems installed. It’s called Grub, and allows you to pick what system you want to boot, or boot on older linux kernels to solve eventual problems with an update.
Views : 154986
linux
Source by The Linux Experiment


