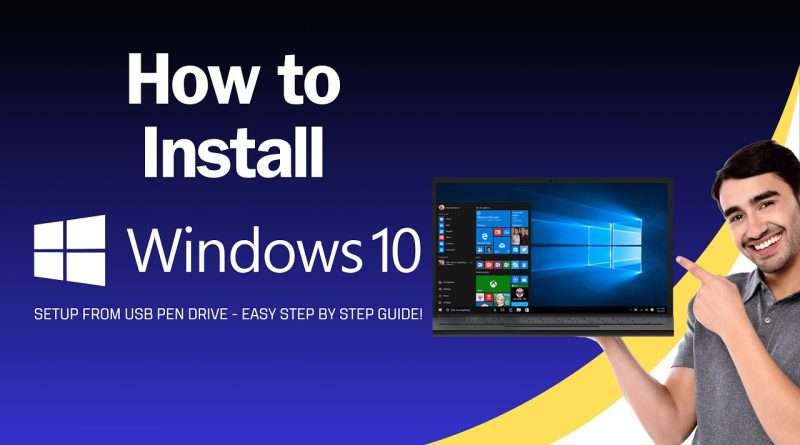
How to Install Windows 10 Using a Bootable USB Drive in Minutes! Step-by-Step Guide
Step-by-Step Guide: How to Install Windows 10 Using a Bootable USB Drive
Installing Windows 10 using a bootable USB drive is a straightforward process that can be completed by following a series of steps. This guide will walk you through creating the bootable USB drive and using it to install Windows 10 on your computer.
What You’ll Need:
A computer with an internet connection
A USB flash drive with at least 8 GB of storage
Windows 10 ISO file
A tool to create the bootable USB drive (such as Rufus)
Step 1: Download the Windows 10 ISO File
Visit the Microsoft website: Go to the Windows 10 download page.
Download the Media Creation Tool: Click on the « Download tool now » button.
Run the Media Creation Tool: Open the downloaded file and follow the prompts.
Create the installation media:
Choose « Create installation media (USB flash drive, DVD, or ISO file) for another PC. »
Select the language, edition, and architecture (64-bit or 32-bit).
Choose « ISO file » and save it to your computer.
Step 2: Create a Bootable USB Drive
Download Rufus: Go to the Rufus website and download the latest version.
Insert your USB drive: Plug your USB flash drive into your computer.
Open Rufus: Run the Rufus program.
Select the USB drive: Ensure your USB drive is selected in the « Device » dropdown menu.
Choose the ISO file:
Click on the « Select » button next to « Boot selection. »
Navigate to and select the Windows 10 ISO file you downloaded.
Start the process:
Leave the default settings as they are.
Click « Start » and wait for Rufus to create the bootable USB drive. This may take several minutes.
Step 3: Install Windows 10 from the USB Drive
Insert the bootable USB drive: Plug the USB drive into the computer where you want to install Windows 10.
Restart your computer: Reboot your PC and enter the BIOS/UEFI settings (usually by pressing a key like F2, F12, Delete, or Esc during startup).
Change the boot order: Set the USB drive as the primary boot device.
Save and exit: Save your changes and restart your computer. It should now boot from the USB drive.
Begin the installation:
When prompted, press any key to boot from the USB drive.
The Windows 10 installation process will start.
Follow the installation prompts:
Select your language, time, and keyboard preferences.
Click « Next » and then « Install now. »
Enter your product key (or click « I don’t have a product key » to enter it later).
Accept the license terms and click « Next. »
Choose the installation type:
Select « Custom: Install Windows only (advanced) ».
Select the partition:
Choose where you want to install Windows 10. If you’re using a new or wiped hard drive, select the unallocated space and click « Next. »
Complete the installation:
The installation will begin. Your computer may restart several times during the process.
Follow the on-screen instructions to complete the setup, including configuring your settings and creating a user account.
Final Steps
Once the installation is complete, your computer will boot into Windows 10. Be sure to:
Install drivers: Update your device drivers to ensure everything runs smoothly.
Install updates: Check for Windows updates and install the latest patches and features.
Install your software: Reinstall your applications and restore your files from backups.
Congratulations! You have successfully installed Windows 10 using a bootable USB drive. Enjoy your newly installed operating system.
Views : 1577
windows 10


