Diagnosing and Repairing (recapping) a Macintosh Colour Classic
Here I am investigating a new-to-me Colour Classic that I just picked up, sold as dead, not working. I thought I knew better than that and got it for a decent price. Well the issues were exactly as I thought:
* Seller did not have a keyboard, one is required to actually power it up
* Capacitors are most likely leaking and will need to be replaced, and board needs to be washed free of conductive cap juice
So I show how I verify the machine does have power by removing the logic board which allows the HV to come up and HDD to spin up. Analogue board is fine so no disassembly needed at this point.
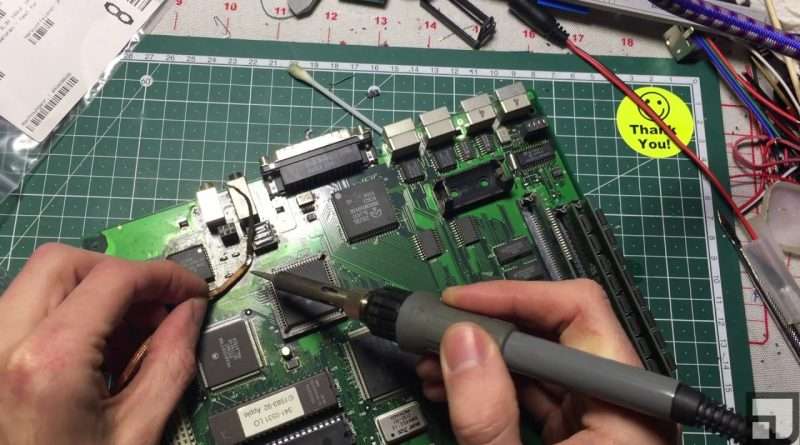
Logic board is super easy to remove on the CC, it slides right out of a rear hatch. The capacitors were indeed leaking everywhere and were replaced, the surrounding areas scrubbed clean. I show my preferred method of capacitor removal: Clip out.
Once re-capped and installed, the machine booted right up! A (fresh) battery is not needed, it works fine without one. I thought I remember seeing somewhere it was, but it’s not 🙂
This whole process is recorded start-to-finish. I apologise for crooked capacitors, keeping my head away from the board for the camera makes things difficult 🙂 Yes, I did cut my thumb pulling out the logic board…
Chapters:
00:00 Blah blah blah…
00:40 Board Removal, Inspection
01:45 Other/Analogue Systems Test
05:00 Taking Inventory
06:17 My Methods
07:36 Old Cap Removal
11:25 Cleaning the Goo
13:00 Replacing New Caps
19:06 Old Cap Removal, pt.2
20:53 Replacing New Caps, pt.2
25:25 Full Board Cleaning
28:35 Testing
29:30 It Works!
Views : 364
macintosh


